This little blog posts describes how you can include the WinRT XAML Validation library in your project and get it to work.
Download
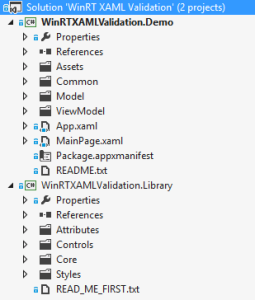
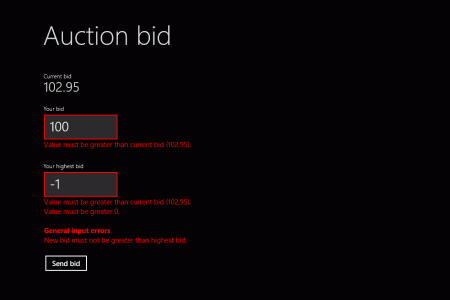
First go to the WinRT XAML Validation Codeplex project page and download the latest bits. The download package includes the sources of the library as well as a demo project (Windows Store App), which showcases many of the concepts and features of the library:
Usage by Source
 To use the WinRT XAML Validation library, you have two possibilities. The first one is to include the library sources. To do this, copy the
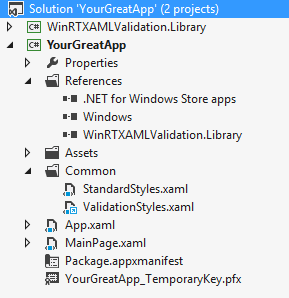
 WinRTXAMLValidation.Library project to your app’s solution folder and add the existing WinRTXAMLValidation.Library.csproj project to your solution.
Add a reference to the library project everywhere you want to use the validation functionality. To get the UI control to work properly, you have to include the ValidationStyles.xaml file from the Styles folder of the library in your project. There are two different ways to do this:
- Copy the
ValidationStyles.xamlfile to your Windows Store App project and reference it asResourceDictionaryin yourApp.xaml. - Add the
ValidationStyles.xamlfile as link in your Windows Store App project and reference it asResourceDictionaryin yourApp.xaml.
You’re free to choose from these approaches. Go the „copy way“ if you want to adapt the validation styles to your needs. Go the „add as link“ way if you simply want to use the UI controls as they are.
Usage by Assembly
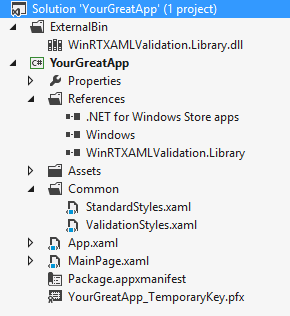
 If you don’t want to include the library’s sources to your solution, you can just add the compiled assembly as reference. To do this, first compile the WinRT XAML Validation library as Debug or Release. Copy the output assembly to your solution and reference it in every project where you want to use the validation functionality.
Copy the ValidationStyles.xaml file from the Styles folder of the library to your Windows Store App project and reference it as ResourceDictionary in your App.xaml.

